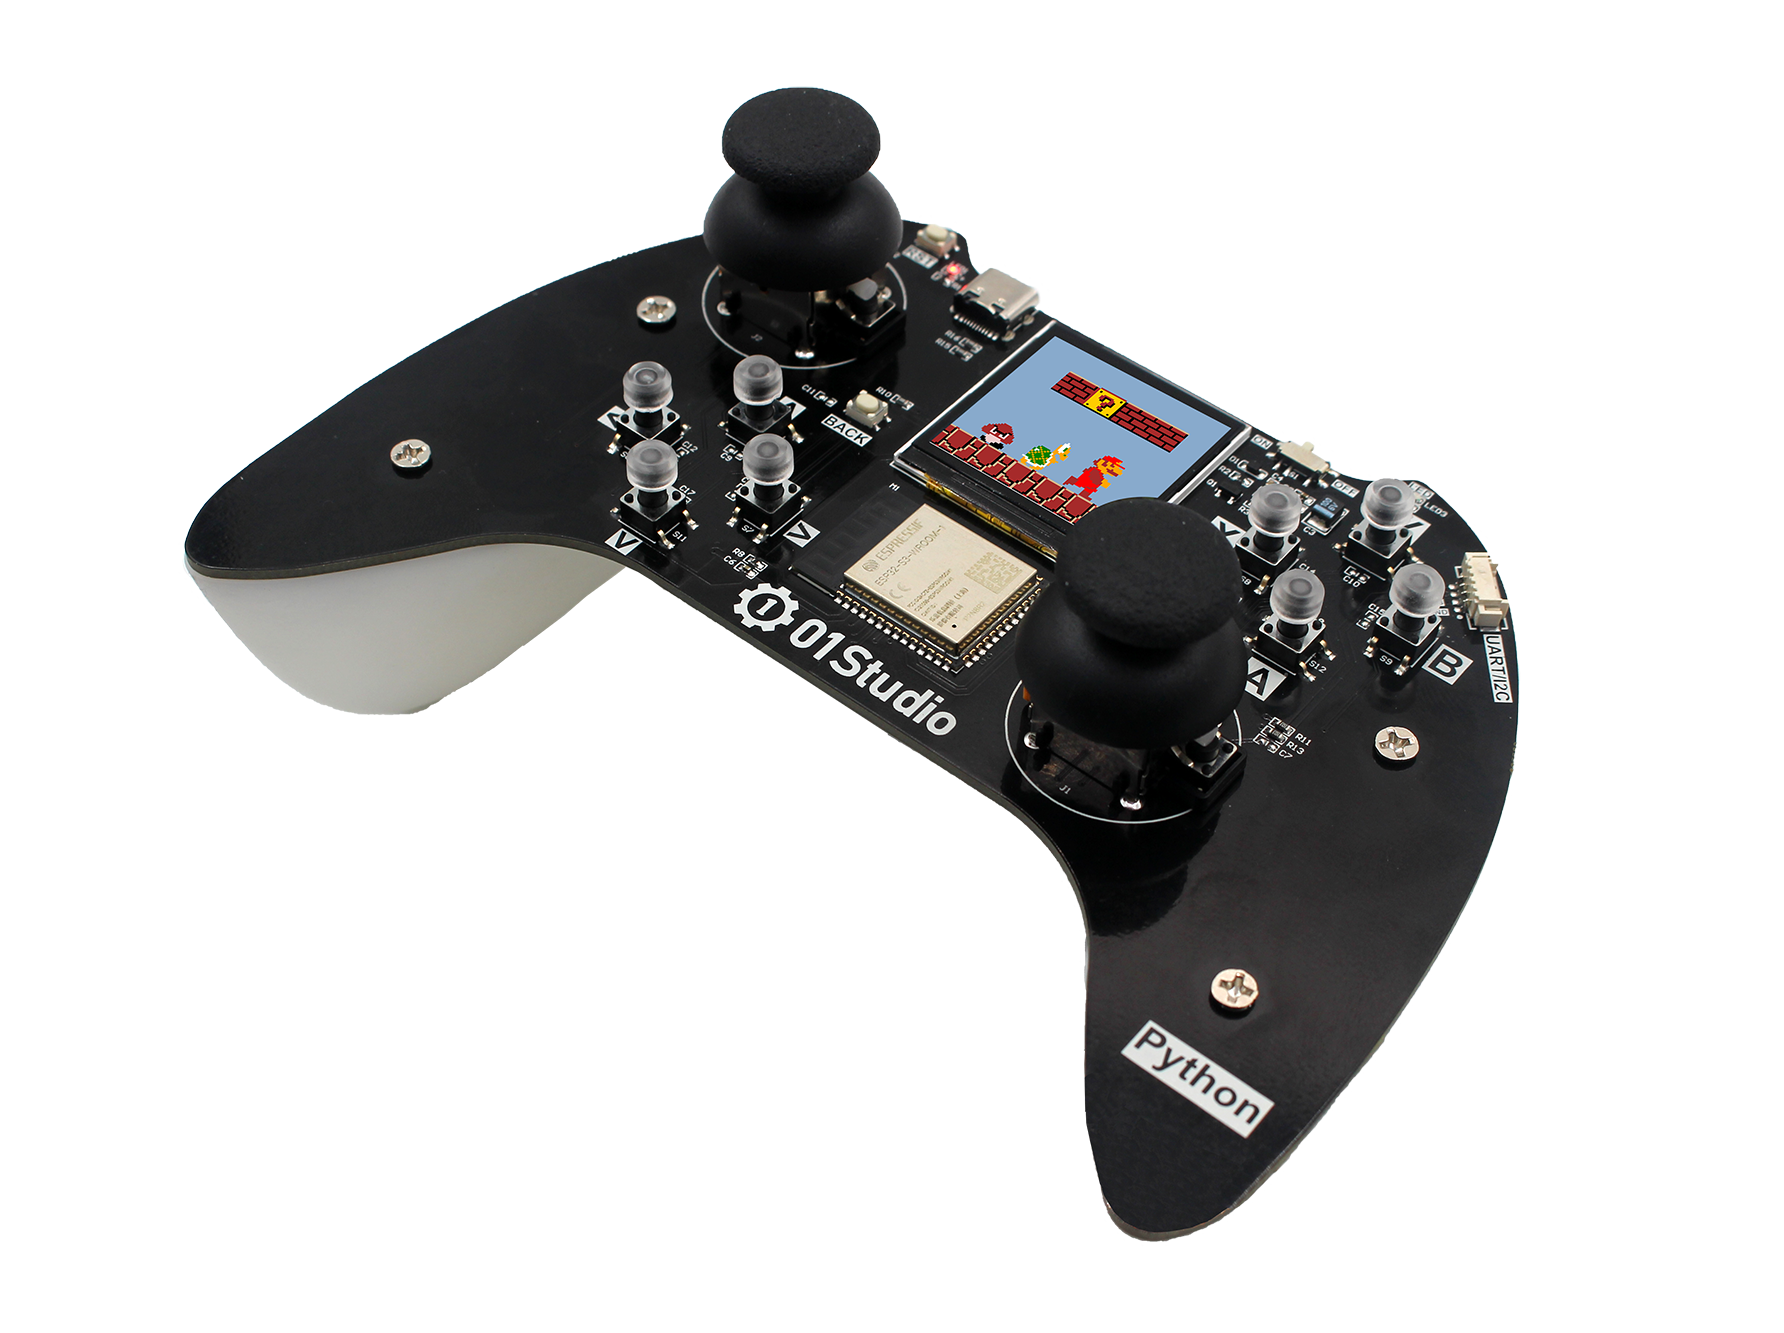
pyController用户手册
硬件资源
教程资料
pyController是基于MicroPython实现,01Studio提供完整的入门教程和代码相关资料:
https://download.01studio.cc/zh_CN/latest/project/pyController/pyController.html
手柄数据
- class controller.CONTROLLER(None)
构建手柄对象。
示例:
import controller

gamepad = controller.CONTROLLER()  #构建手柄对象
- CONTROLLER.read()
读取手柄和摇杆数据。返回8字节元组,代表手柄按键和摇杆的所有数据。
例:(1,135,131,125,132,8,0,6)
协议明细见下图:
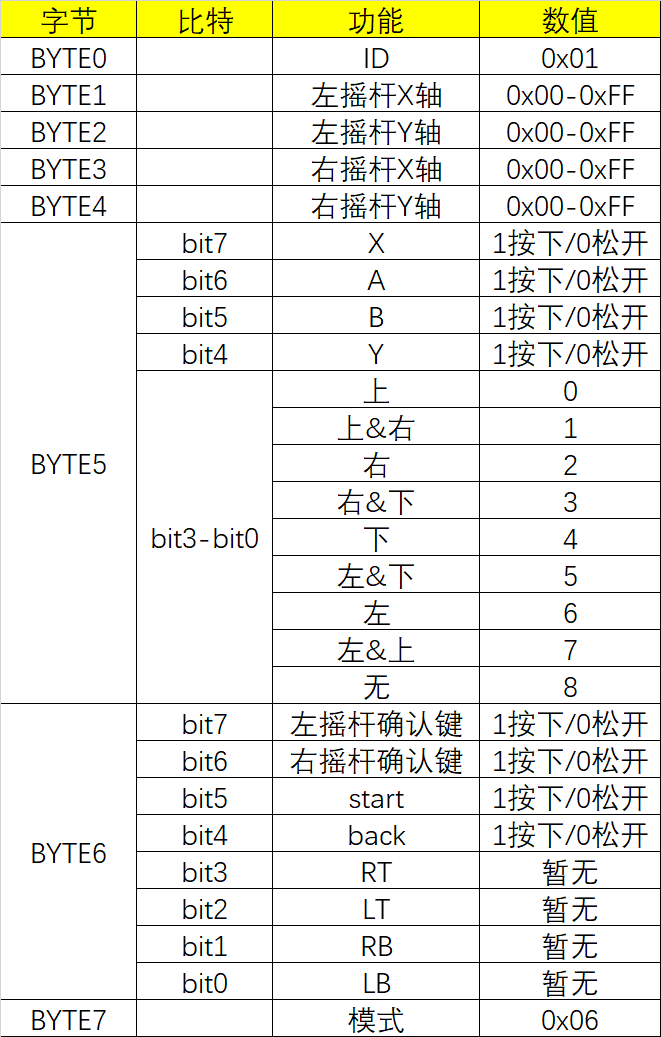
pyController手柄数据协议
NES游戏
- class game.NES(None)
构建手柄对象。NES对象已经整合手柄按键和摇杆数据,无需额外初始化手柄。
示例:
import game

nes = game.NES()  #构建NES对象
- NES.start(file)
启动nes游戏模拟器。启动成功后进入阻塞,无法运行其它代码。
file路径+名称,如:”/mario.nes”表示flash根目录下的mario.nes文件。
1.54寸LCD屏
使用方法参考:https://docs.01studio.cc/library/tftlcd/tftlcd.LCD15.html
WiFi连接
The network module:
import network

wlan = network.WLAN(network.STA_IF) # 创建 station 接口
wlan.active(True)       # 激活接口
wlan.scan()             # 扫描允许访问的SSID
wlan.isconnected()      # 检查创建的station是否连已经接到AP
wlan.connect('essid', 'password') # 连接到指定ESSID网络
wlan.config('mac')      # 获取接口的MAC地址
wlan.ifconfig()         # 获取接口的 IP/netmask(子网掩码)/gw(网关)/DNS 地址

ap = network.WLAN(network.AP_IF) # 创捷一个AP热点接口
ap.config(essid='ESP-AP') # 激活接口
ap.config(max_clients=10) # 设置热点允许连接数量
ap.active(True)         # 设置AP的ESSID名称
连接到本地WIFI网络的函数参考:
def do_connect():
    import network
    wlan = network.WLAN(network.STA_IF)
    wlan.active(True)
    if not wlan.isconnected():
        print('connecting to network...')
        wlan.connect('essid', 'password')
        while not wlan.isconnected():
            pass
    print('network config:', wlan.ifconfig())
一旦网络建立成功,你就可以通过 socket 模块创建和使用 TCP/UDP sockets 通讯,
以及通过 urequests 模块非常方便地发送 HTTP 请求。